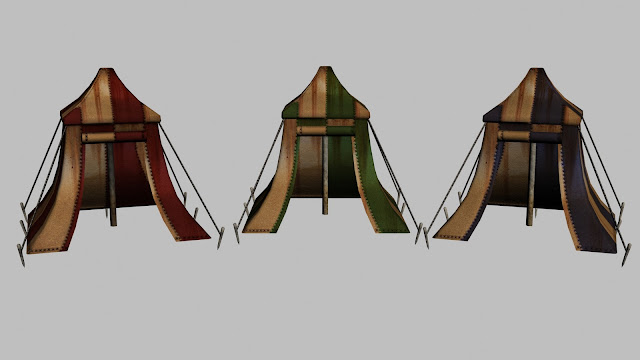
First up is a series of tents I created for the courtyard portion of the level. I modeled the original in 3dsMax before transferring the high-poly mesh into ZBrush for high-res sculpting. Once that was done, both the low-poly 3dMax model and the high-poly ZBrush sculpt were imported into xNormal for texture baking. Then it was just some opacity/painted layers via Photoshop and we're ready for these to go in game!
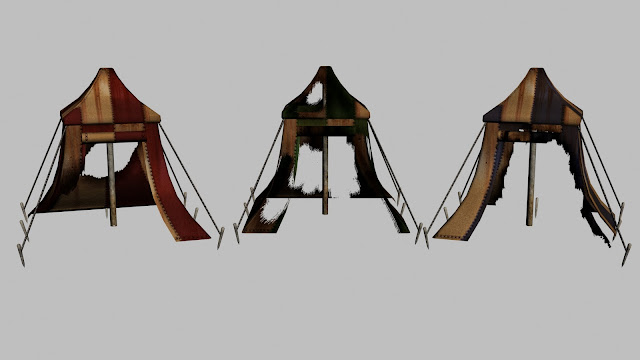 |
(Above) A simple opacity map can work wonders! |
 Next up, a wrecked wagon that will also be going in the courtyard. This was was a little trickier to pull of because of the many pieces that went into it. The torn canvas was even tougher because part of the mesh overlapped the wood, so the texture from the canvas was being projected onto the wood. Again, some creative touches in Photoshop/3dMax and the problem was solved. This one's ready for UDK!
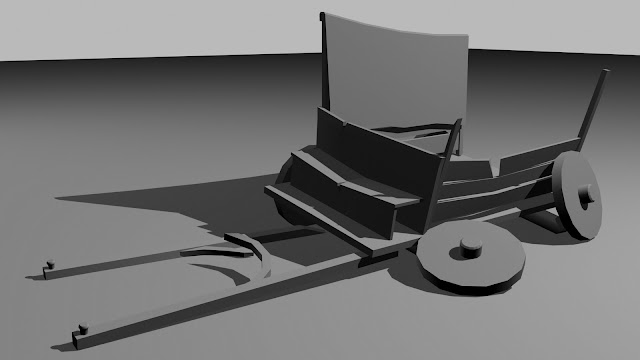 |
Here's a low poly render of the wagon. The canvas on the back was overlapping the wood so I had to argue with that before figuring out the solution. |
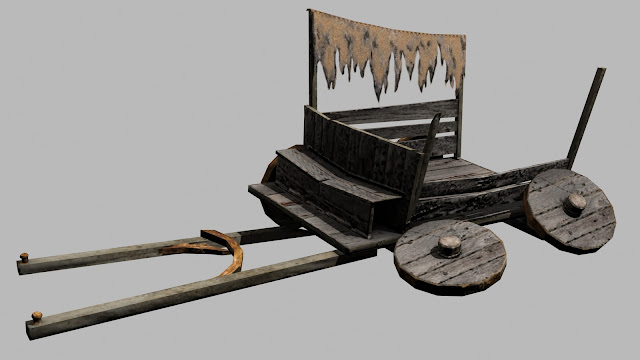 |
And here's the game ready model! |
Here's a table I created as one of my first assets for this project. It took me a while to figure out the method they used for getting the models in game, but once I figured it out... It was on! I was especially proud once I finished this one, because I knew what I was doing from here on out!
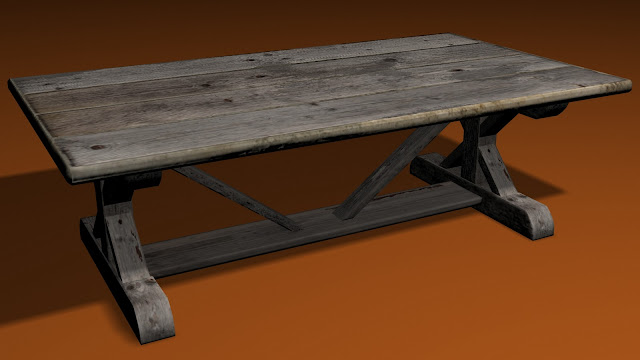 |
| Alternate lighting to show off the detail. |
And now, onto the catacombs portion of our level! After some running around above ground, the players find themselves in the spooky confines of the castle prison! By the time I was finished with the courtyard assets, we were running very near our deadline for finishing. Luckily, I managed to get these finished just in the nick of time!
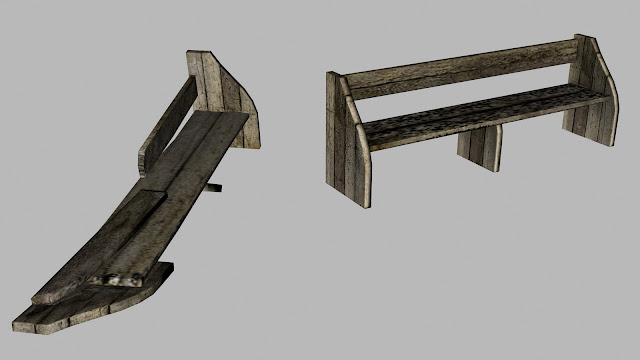 |
| Here's a pair of benches I created. These were originally planned for the catacombs but, since they came out so well, we decided to throw a few in the courtyard! |

No comments:
Post a Comment